Back to School Staff Gift
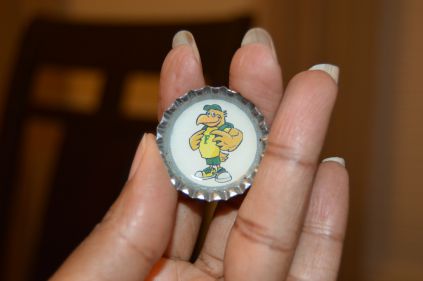
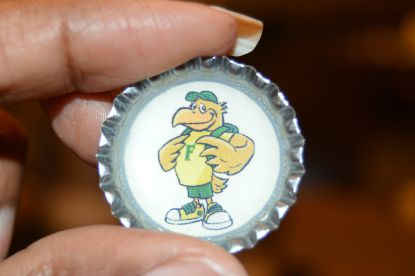 Do any of you school counselors like to get in touch with your crafty side? I do! I spent the beginning of the summer preparing bottle cap magnets as Fish Extender gifts for friends on the Disney Cruise I was taking. During that time, I had an idea to use my school’s mascot image (created by the husband of one of my co-workers – Tony Nichols) to create these cute welcome back gifts for the staff at my school. I really wanted to have this idea published before I set sail a couple of weeks ago, but time got away from me. If it’s too late for you to make these now, you could always make them for National School Counselor week.
So, I want to tell you the materials I used and the steps I took to make them.
When I first researched how to make them, most sites suggested using resin. When I visited Michael’s the first time and inquired about the resin, the sales person suggested I use another product that really made the whole process A LOT easier for me than I first expected.
Materials Needed:
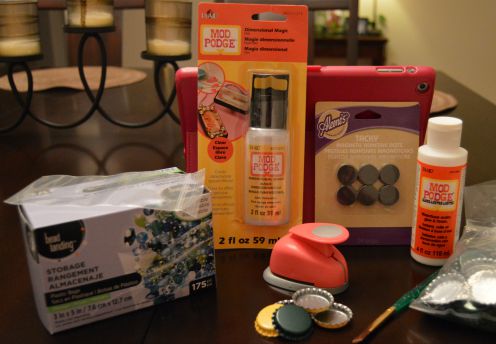
bottle caps (I ordered my bottle caps from BottleCapCo.com in my school’s colors)
1 inch images (Printed on cardstock)
1 inch circle punch
Mod Podge Dimensional Magic (Clear)
Mod Podge Glue and Sealer (Gloss)
Small paint brush
3×5 Plastic Baggies
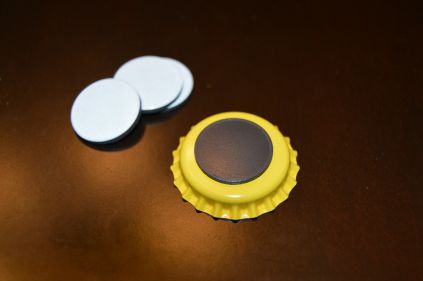
Magnets (I used Tacky Magnetic Adhesive Dots)
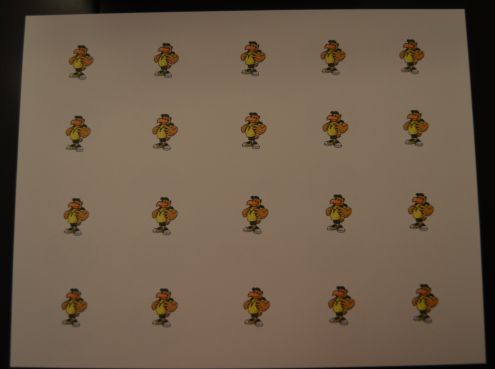
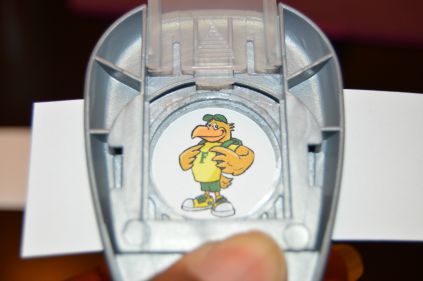
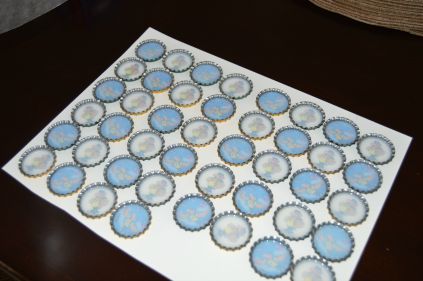
First, you need to decide on the image you want to use and make it small enough to fit inside of a one inch circle. I used two of our schools mascot images and copied about twenty-five of each on one page. I cut them out in strips of five and used a one inch circle punch to make all of the inserts for my bottle caps.
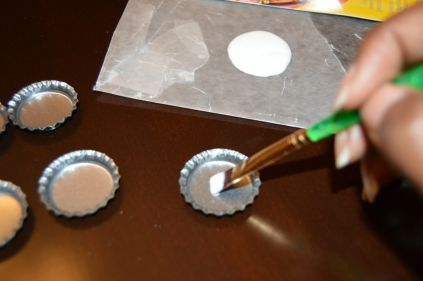
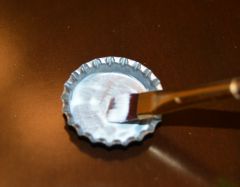
Next, I used the Mod Podge Glue and Sealer. I used my paint brush to put some inside of the bottle cap first. I glued one picture inside the bottle cap. I used more Mod Podge to seal the picture into the bottle cap using the paint brush. It’s a good idea to let them sit for awhile to dry. Overnight is a good amount of time to make sure everything is sealed.
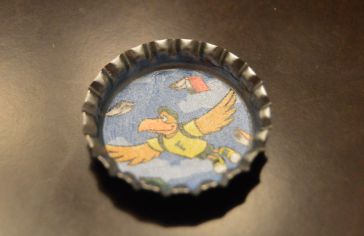
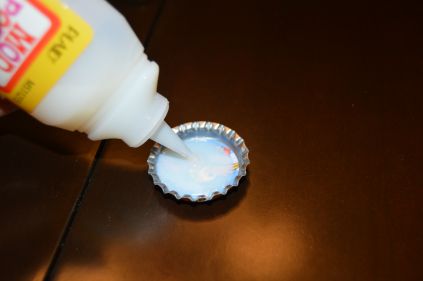
Once the bottle caps are dry, squeeze in the Dimensional Magic. I use enough to completely cover the picture. You do not need to fill the entire bottle cap. Once this step is done, they will need to sit for at least 24 hours to make sure they are completely dry and ready. You’ll know when they are ready because they will be nice and clear instead of cloudy.
Once the Mod Podge is completely dry on the inside of the bottle cap, attach an adhesive magnet dot to the back of the magnet and it is finished!
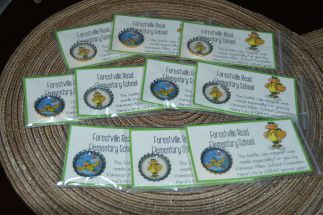
I made cards that would fit inside of the baggies. The card has the name of our school at the top. On the bottom it says, “This bottle cap magnet was made especially for you by (your name) – school counselor. Here’s to a GREAT school year!” I used a small piece of tape to attach the magnet to the card. Now they are ready for me to place in the boxes of my staff members for our first workday. I really hope they like them!
Stick around! You can follow Savvy School Counselor with free email updates. You can also follow my TpT Store to keep up with my latest products and freebies.


5 Comments
Martha
Could you share what your cards said when you gave them to staff? thanks I looks like a really cool project!
Vanessa
Hi, Martha! Thanks for your question. I updated the post near the end to include the wording printed on the card.
Martha
Thanks! This is a great idea and one I would like to use this year.
Sheila Wright
Thanks for Vanessa it was nice gift and great ideal!
Vanessa
I’m glad you liked it, Sheila! You’re welcome!